How to Organize a Bedroom: A Step-by-Step Plan
A seven-step order of work for organizing a bedroom, from deciding what the room is for to a short daily reset, with a rough time for each step and the reason shopping comes near the end.
At a glance
What you need
- Three boxes or bags for sorting
- An old sheet for the floor piles
- Tape measure
- Paper and pencil for a room sketch
- Trash and recycling bags
Most advice on how to organize a bedroom arrives as a list of tips: fold this way, buy that bin, add a shelf. The tips are often fine. What is missing is the order, and the order is what decides whether the room stays organized or slides back within a month.
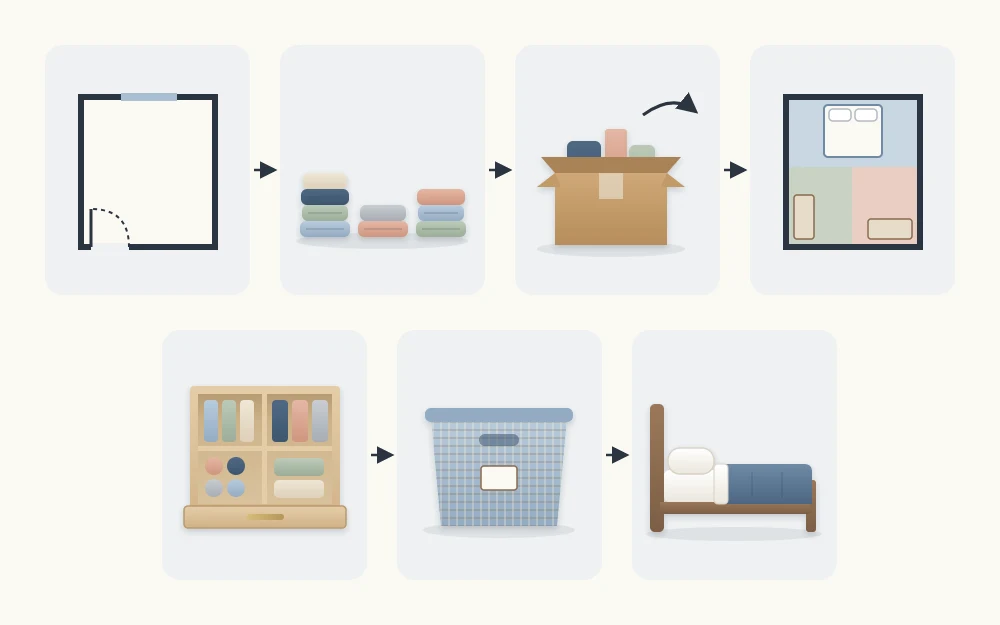
This plan puts the whole job into seven steps, each one making the next easier. You can spread them over a few evenings or a weekend. Do them in sequence, with shopping near the end.
Why the order matters
The common mistake is to start with containers. A set of bins bought on day one gets filled with whatever is nearest, including things that should have left the room. There is just as much clutter as before, and it now occupies the storage your everyday things needed.
Working the other way round, you reduce first, then decide where each group lives, then measure, and only then buy. You end up buying less, and what you buy fits.
| Step | What you do | Roughly how long |
|---|---|---|
| 1. Purpose | Decide what the room is for and what does not belong | A few minutes |
| 2. Clear | Move floor and surface items into sorting piles | Half an hour to an hour |
| 3. Declutter | Go through each category and let things go | A few hours, often split over sessions |
| 4. Zones | Divide the room into areas with one job each | Under half an hour |
| 5. Homes | Give each group a fixed place sized to it | One to three hours |
| 6. Storage | Measure, then add only the products you need | Varies with what you buy |
| 7. Reset | Set a short daily routine | A few minutes a day |
The times are loose ranges that depend on the room and how much is in it.
Step 1: Decide what the room is for
Every bedroom is for sleeping and dressing. Many also have to hold a desk, a reading chair, a crib or exercise gear, and that is fine if it is a decision and not an accident. Write down the two to four jobs your bedroom really has.
Then note what is in the room that serves none of them: boxes of paperwork, tools, things waiting to be returned, another room’s overflow. They need a home somewhere else, and naming them now makes step 3 quicker.
Step 2: Clear the floor and the surfaces
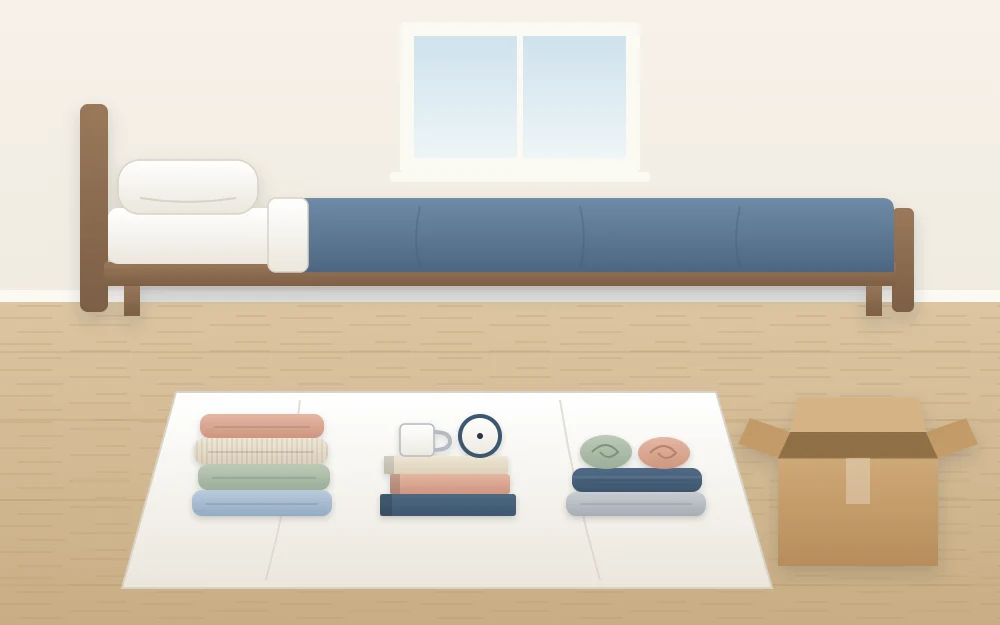
You cannot plan a room you cannot see. Make the bed first so you have a clean work surface, then lift everything off the floor, the chair, the nightstand and the dresser top.
Sort as you lift, into three rough piles on the bed or on a sheet on the floor:
- Stays in the bedroom. It belongs here, even if it has no home yet.
- Belongs elsewhere. Dishes, mail, other people’s things.
- Leaving. Trash, recycling and obvious donations.
Do not open drawers yet. Carry the second and third piles out of the room before you go on.
Step 3: Declutter by category
Now go deeper, one category at a time: clothes, shoes, books, bedding, bedside items, accessories, and whatever your room collects. Gathering a whole category in one place shows you how much of it you own.
For each item, ask whether you use it and whether you would look for it in this room. The full method, including what to do with the items you cannot decide on, is in the guide to decluttering a bedroom in small, finishable sessions.
Tip
Hold off on buying anything until this step is done. What you need to store will be a smaller and different list than it was this morning.
Step 4: Divide the room into zones
A zone is an area of the room with one job. Most bedrooms have a sleep zone around the bed, a dressing zone around the dresser and hamper, a storage zone for things used rarely, and a landing spot for keys, bag and watch.
Zones matter because things stay put when they are stored where they are used. If your worn-once clothes pile up on a chair across the room from the dresser, the dressing zone is probably in the wrong place. The guide to mapping bedroom storage zones shows how to place each one.
Step 5: Give each group a home
A home is the fixed place an item is kept. Assign homes in order of use, because the best spots are limited:
- Daily items first. Underwear, socks, sleepwear, glasses and chargers get the easiest places to reach: top drawers and the nightstand.
- Weekly items next. Spare sheets, workout clothes and bags can sit a step or a bend away.
- Seasonal and rare items last. Out-of-season clothes and spare blankets take what is left: under the bed or up high.
Size each home to its group. If the T-shirts fill a drawer and a half, they need either a second drawer or fewer T-shirts.
Step 6: Add storage, measured to the space
Only now do you know what is missing. Maybe the sock drawer needs dividers, the space under the bed needs two low boxes, or the back of the door could take hooks. Measure the width, depth and height of each spot, and measure the things going into it, before buying.
For a tour of where extra capacity usually hides, see these bedroom storage ideas for every part of the room.
Good to know
If your plan includes a tall dresser, bookcase or wardrobe, anchor it to the wall following the furniture maker’s instructions and keep heavy things in the lowest drawers or shelves. For anything wall-mounted or adhesive, follow the product instructions and its stated limits.
Step 7: Set a short daily reset
An organized bedroom still gets used. The difference now is that everything has a home, so putting the room back takes minutes.
Pick a fixed moment, such as before bed or after getting dressed, and return the day’s strays: clothes to the hamper or their drawer, dishes to the kitchen, the landing spot emptied of what does not live there. A simple version is laid out in the daily bedroom reset routine.
If one spot keeps filling up despite the reset, treat it as information. Either that item’s home is too far from where you use it, or it is too small, and steps 4 and 5 are worth a second look for that one group.
Frequently asked questions
Where do you start when a bedroom is very messy?
Start with the bed, then the floor. Making the bed gives you a clean surface to sort on, and clearing the floor lets you see the room and move around it. Leave drawers and the space under the bed until the visible areas are done, so early progress is easy to see.
Should I buy storage bins before I organize?
It is better to wait. Until you have decluttered and decided where each group of things will live, you do not know what sizes or how many containers you need. Bins bought first tend to get filled with items that should have left, and they often do not fit the space.
How long does it take to organize a bedroom?
It depends on the size of the room and how much is in it. Many people get through the whole plan in a weekend, while a room that has collected overflow from the rest of the home can take several sessions. Splitting the steps across evenings works well, as long as you keep them in order.