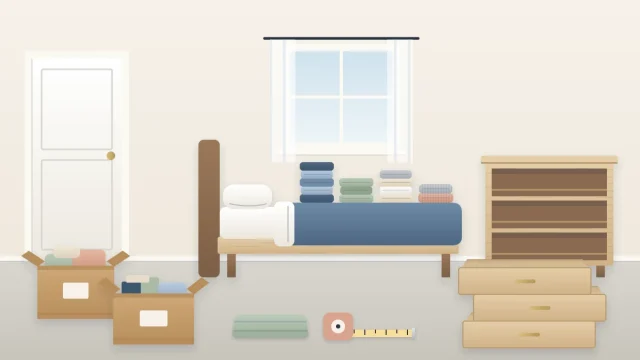
DIY Drawer Dividers from Cardboard: A Simple Bedroom Project
Make a fitted divider grid for any drawer from a shipping box: measure, plan the sections around what you store, cut strips, slot them together and trim to fit.
At a glance
What you need
- Sturdy corrugated cardboard, such as a shipping box
- Ruler or tape measure
- Pencil
- Scissors
- Paper for sketching the layout
- Plain paper or tape for the edges (optional)
A drawer without sections turns into one mixed layer within a week or two. Bought organizers fix that, but they come in set sizes and your drawer may not match any of them. Cardboard cut to your own measurements fits exactly and costs nothing but a shipping box.
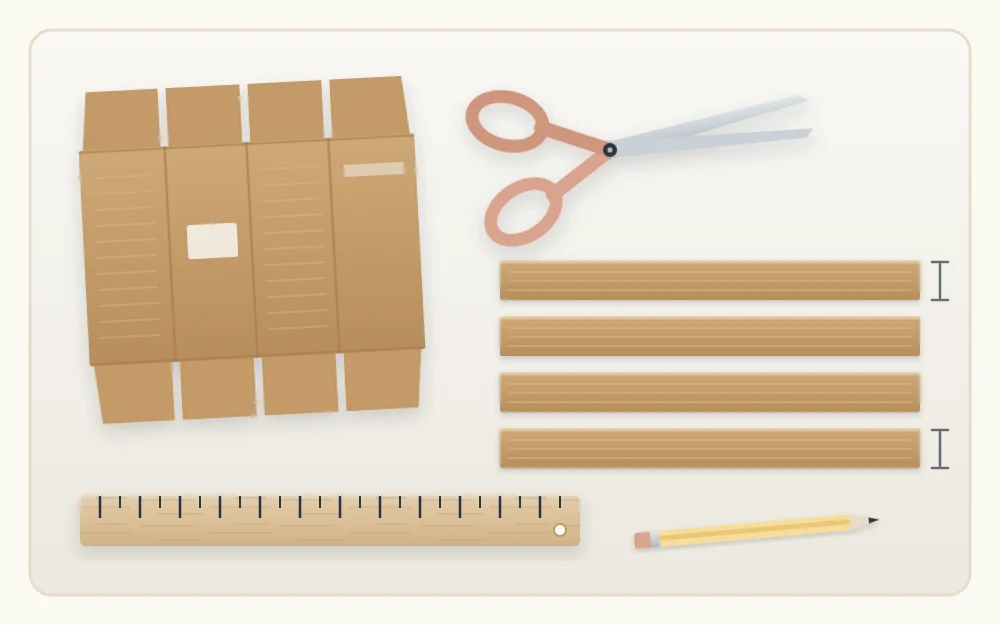
These diy drawer dividers are a simple grid of cardboard strips that slot together without glue. The project needs sturdy cardboard, a ruler, a pencil and scissors, and one drawer is a comfortable job for an afternoon.
What you need
- Sturdy corrugated cardboard. A shipping box is ideal. Choose flat, clean, dry panels without deep creases.
- A ruler or tape measure and a pencil.
- Scissors strong enough for cardboard.
- Paper for sketching the layout.
- Optional: plain paper or tape for finishing the top edges.
Good to know
Scissors are enough for most box cardboard. If an adult chooses to use a craft knife for thicker board, cut on a cutting mat, with the cut moving away from the body and the other hand kept well clear.
Plan the sections around the contents
Empty the drawer and lay its contents out in groups. The groups decide the grid, not the other way around.
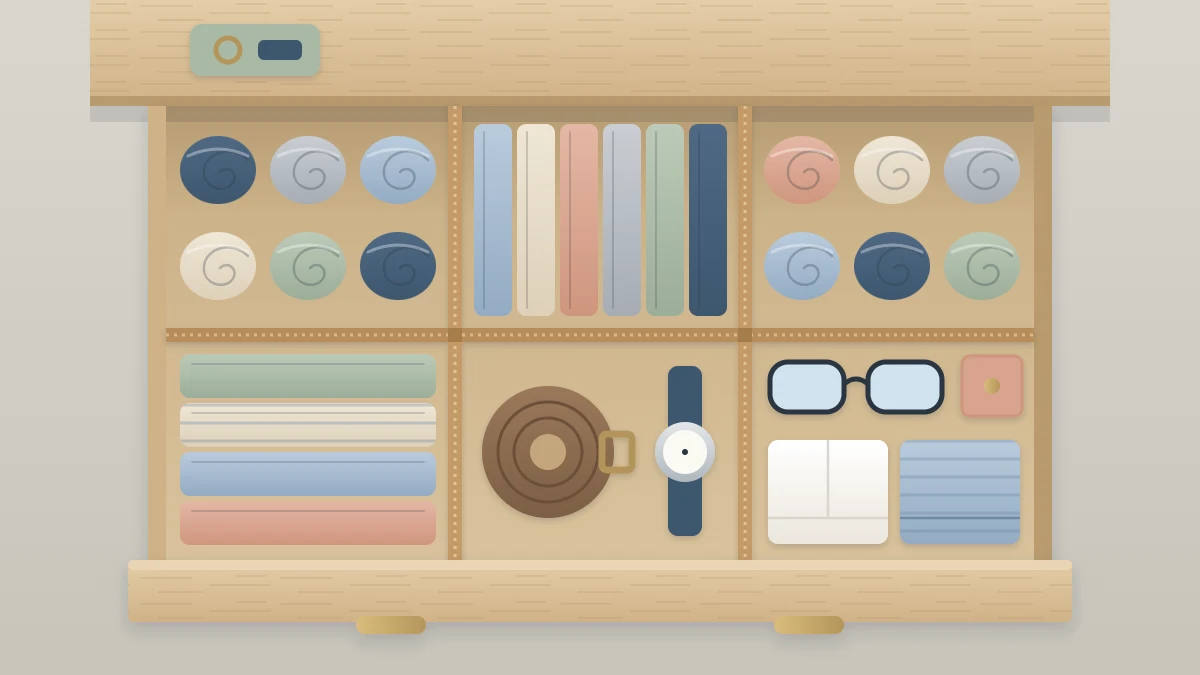
- Socks: a section just wide enough for one row of folded or rolled pairs standing side by side.
- Underwear: a slightly wider section, sized to your folded pieces so that they stand in a row and each one shows from above.
- Accessories: smaller sections for belts, scarves or watches; more ideas are in the guide to organizing bedroom accessories.
- The nightstand drawer: several small sections for chargers, glasses and small items. The guide on how to organize a nightstand drawer covers what to group together.
Fold one item from each group the way you will store it and measure it. A section should be a little wider than the item, so things slide in without being crushed. Fewer, larger sections are easier to keep up than many tiny ones.
How to make the divider grid
- Measure the inside of the drawer. Take the width, the depth from front to back, and the height of the sides. Measure at the bottom of the drawer, since some drawers narrow slightly, and write the figures down. A drawer that is 4 in (10 cm) deep inside is only an example; use your own numbers.
- Draw the layout on paper. Sketch the drawer as a rectangle and draw lines for the dividers: some running front to back, some side to side. Mark the distance between them.
- Mark the strips. Every strip is the same height: slightly lower than the inside height of the drawer, so the drawer closes without catching. The front-to-back strips are as long as the inside depth; the side-to-side strips are as long as the inside width.
- Cut the strips. Cut slowly along the pencil lines with scissors. Straight edges matter more on the bottom of the strip, which sits on the drawer floor, than on the top.
- Mark the crossings. Using your sketch, mark on every strip each point where another strip will cross it.
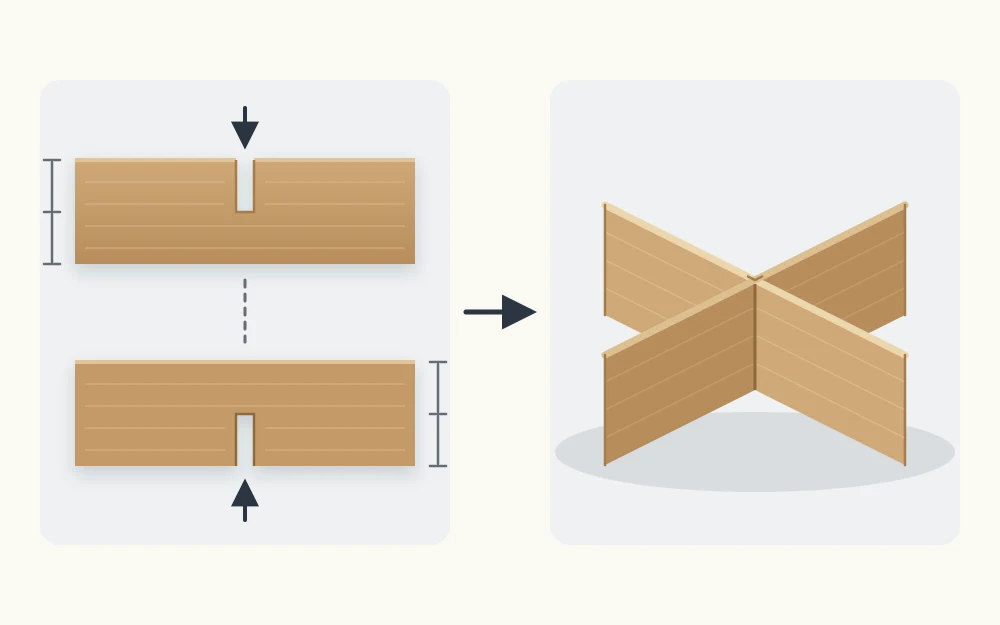
- Cut the slots. At every mark, cut a slot halfway through the height of the strip and about as wide as the cardboard is thick. On the front-to-back strips, cut the slots from the top edge down. On the side-to-side strips, cut them from the bottom edge up.
- Slide the slots together. Hold the strips at right angles and push each pair of slots into one another until the edges are level. Repeat until the grid is complete.
- Test the fit and trim. Lower the grid into the drawer. It should sit snugly against all four sides without bowing. If a strip buckles, take it out and trim a sliver from one end.
Tips for a sturdier grid
- Run the flutes along the strip. Corrugated cardboard has small ridges, called flutes, inside it. A strip cut so the flutes run along its length is stiffer and less likely to bend in the middle than one cut across them.
- Double a strip for long spans. For a wide drawer, cut two matching strips and tape them together, or fold one double-height strip in half along its length. Make the slots in the crossing strips a little wider to match.
- Keep slots narrow. A slot that grips the crossing strip holds the grid square. If one ends up loose, a small piece of tape at the joint steadies it.
- Finish the edges if you like. Covering the strips with plain paper, or running tape along the top edges, gives a cleaner look and stops the edges from fraying. It is optional; the grid works the same without it.
The even quicker way: boxes without lids
If cutting slots does not appeal, small boxes do the same job. Shoe boxes, gift boxes and other small boxes without their lids can be arranged like tiles until they fill the drawer.
Measure the inside height of the drawer first and choose boxes lower than that, or trim them down with scissors. Try different arrangements until the boxes sit tight against one another with little spare room, because loose boxes slide when the drawer opens. A leftover gap at one side can hold a single item that needs no container, such as a folded scarf.
Tip
Use the boxes as a trial run. After a week or two you will know which sections are the right size, and you can cut a fitted grid to match.
Where to use them
Cardboard grids suit shallow drawers with small, light contents: the top drawers of a dresser, a nightstand drawer or a drawer of accessories. In deep drawers of bulky clothes, upright folding often keeps rows in place without any dividers; the dresser organization guide explains which drawers benefit most.
Honest limits
Cardboard dividers wear out. The edges soften, a strip bends when the drawer is overfilled, and a spill will ruin them. Keep them in dry drawers only.
The same quality that limits them is useful, though. When your needs change or a strip gives way, a new one takes a few minutes to cut. If a layout proves itself over several months, you will also have exact section sizes to hand should you decide to replace the cardboard with something more durable.
Frequently asked questions
What kind of cardboard works best for drawer dividers?
Corrugated cardboard from a shipping box works well, as long as it is flat, clean and dry. Cut the strips so the inner ridges, called flutes, run along the length of each strip, which makes it stiffer. Thin card from cereal-type boxes tends to bend unless it is doubled.
How tall should cardboard drawer dividers be?
Slightly lower than the inside height of the drawer, so the drawer closes without the strips catching on the frame above. Measure the inside height of your own drawer and take a little off. All strips in one grid should be the same height so they sit level.
How long do cardboard drawer dividers last?
It depends on the cardboard and how full the drawer is. They soften and bend with use and do not survive moisture, so they suit dry drawers with light contents. They are quick to remake, and a worn grid gives you the exact sizes to cut a replacement.